Web 3.0
How to Buy XRP in USA and Move It to a Cold Wallet
Unveil the step-by-step process on how to purchase XRP in the USA and ensuring its safety by transferring it to a secure cold wallet. Our comprehensive guide can help you through the entire process.
As the world of cryptocurrency continues to evolve, one digital currency that has managed to capture the attention of many is Ripple (XRP). Designed for speed and affordability in payment transactions, XRP has emerged as a popular choice among several financial institutions globally. A lot of people have currently been wondering: How to buy XRP in the USA?
This entire guide aims to provide an in-depth understanding of how to buy XRP in the USA and secure it effectively in a cold wallet.
Understanding XRP and its significance

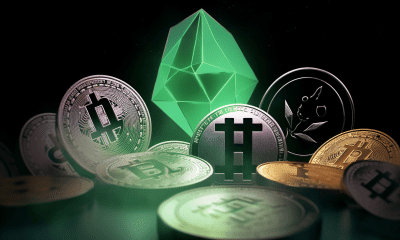
Exploring Ripple (XRP) – Image via Unsplash
XRP is a recognized digital currency that operates on the XRP Ledger, an open-source blockchain platform developed by Ripple Labs Inc. Unlike Bitcoin transactions, which can take a substantial amount of time to confirm, XRP transactions are confirmed within 3-5 seconds, making them significantly faster and more efficient.
XRP is particularly beneficial for international money transfers, as it facilitates fast and low-cost transactions. Alongside this, several financial institutions and payment processors worldwide have already started utilizing XRP for its advantages.
XRP prices have recently seen a hike, but will it last? Find out in our detailed article!
How to buy XRP in the USA: A guide
There are several steps involved that explain how to buy XRP in the USA, with the first being the selection of an appropriate cryptocurrency exchange.
Step 1: Deciding on a crypto exchange
When selecting an exchange for buying XRP, it is crucial to choose one that accepts fiat currency or pairs well with other cryptocurrencies. However, you must take considerations such as the platform’s security measures and usability into account when making your decision.
Furthermore, exchanges like eToro, Coinbase, and Binance have emerged as preferred platforms for purchasing XRP. These platforms are user-friendly and offer low trading fees, making them ideal for U.S. investors.
Step 2: Buying XRP
Once you’ve selected your preferred exchange, you’ll need to create an account and fund it with either fiat currency or another cryptocurrency compatible with the platform. Locate XRP on the exchange and specify the amount you wish to invest.
Step 3: Storing XRP
After acquiring XRP, it’s crucial to secure it in a wallet. Note that dedicated XRP wallets require a minimum of 10 XRP to activate an account on the XRP Ledger.
Choosing the right wallet for your XRP
After you have learned how to buy XRP in the USA, it is important to choose the right wallet. There are several storage options available for securing your XRP:
- Hardware wallets: Devices like Ledger and Trezor securely store your private keys and allow you to transact without exposing your data.
- Paper wallets: This involves printing your private keys and recovery passphrases on paper. Although not as secure and somewhat cumbersome, they offer offline storage.
- Software wallets: Desktop or mobile wallets, such as Trust Wallet, store your crypto assets. However, they have faced criticism due to safety concerns related to internet-based operations.
- Crypto exchanges: Platforms like Coinsmart, Crypto.com, and Binance offer storage services for your XRP.
Get a closer look at Bitcoin and read about its Taproot upgrade.

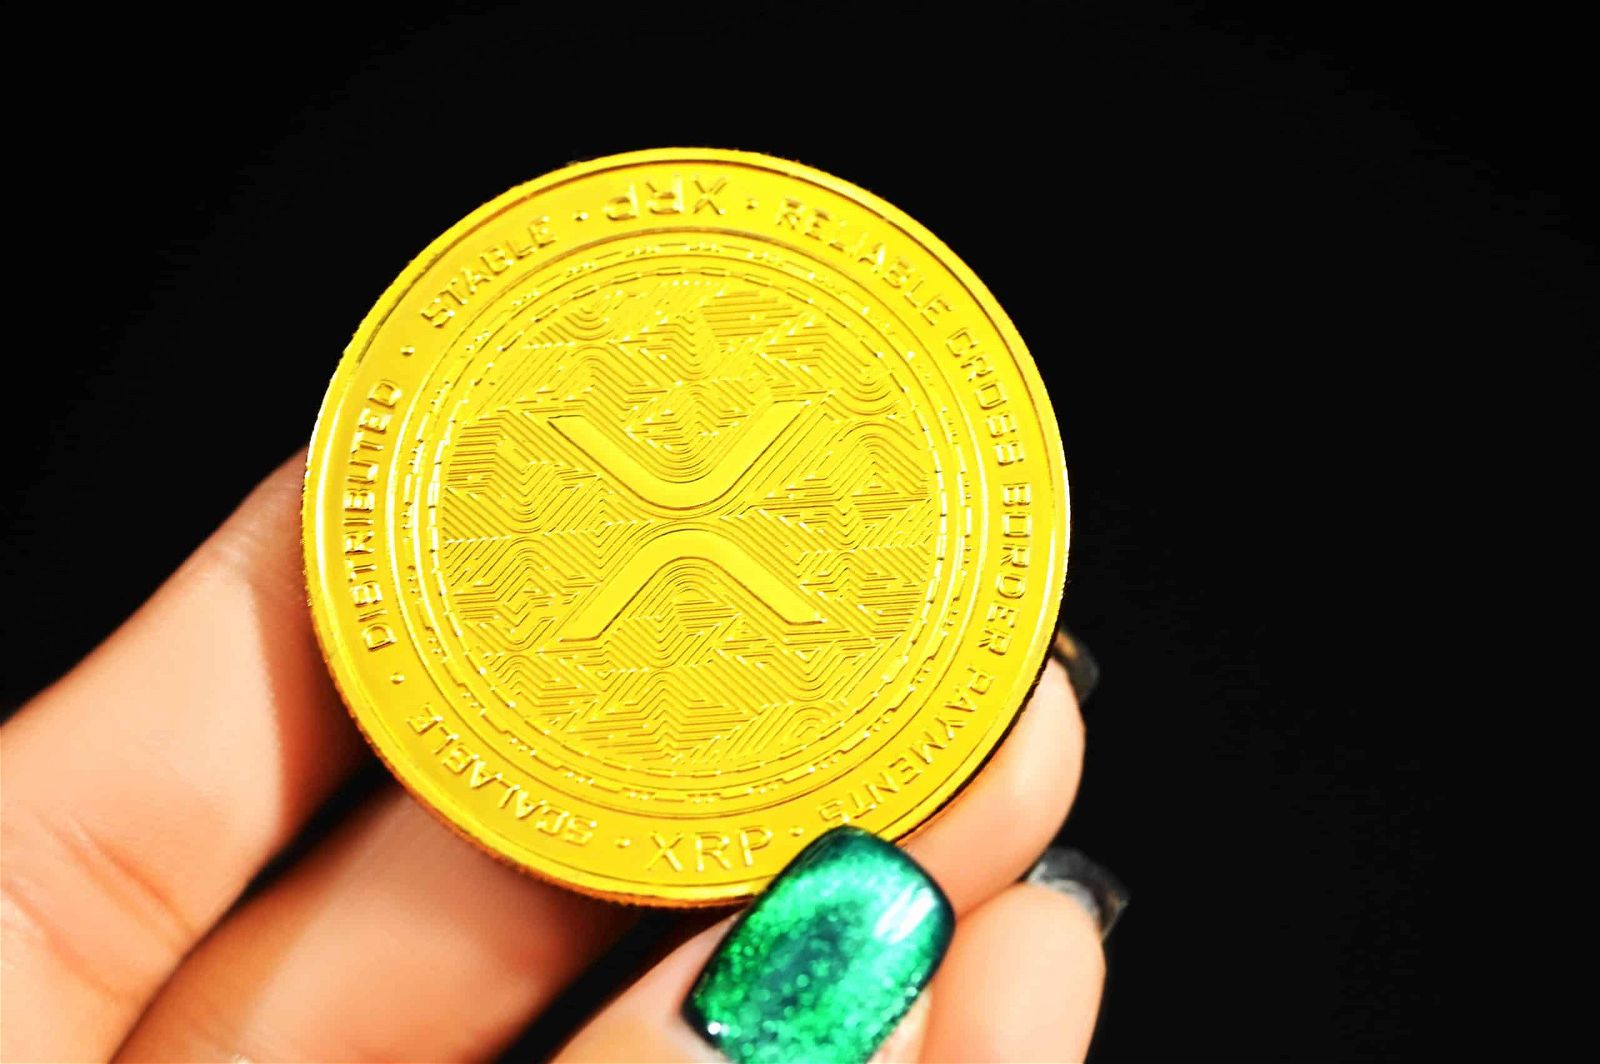
How to buy XRP in the USA – Image via Pixabay
Moving XRP to a cold wallet: A step-by-step guide
Apart from knowing how to buy XRP in the USA, moving your XRP to a cold wallet is a crucial step in ensuring the security of your cryptocurrency holdings. Additionally, cold wallets, also known as offline wallets, are not connected to the internet, making them less vulnerable to hacking and online threats.
Here’s a detailed guide on how to move your XRP to a cold wallet:
Step 1: Choose a cold wallet
Select a reputable cold wallet for storing your XRP. Hardware wallets like Ledger Nano S, Ledger Nano X, and Trezor are popular choices. These devices provide robust security and allow you to store multiple cryptocurrencies, including XRP.
Step 2: Set up your cold wallet
Follow the manufacturer’s instructions to set up your chosen cold wallet. This typically involves initializing the device, creating a PIN, and generating a recovery seed. Store the recovery seed in a safe and offline location.
Step 3: Install the XRP app
If your cold wallet supports XRP, install the XRP app on the device. This app allows you to manage your XRP holdings securely.
Step 4: Access your XRP on the exchange
Log in to your cryptocurrency exchange account where your XRP is currently stored.
Step 5: Initiate withdrawal
Navigate to the withdrawal or transfer section of the exchange. Select XRP as the cryptocurrency to withdraw.
Step 6: Enter receiving address
Paste the receiving address generated on your cold wallet into the withdrawal form. Double-check the address to ensure accuracy.
Is you’re someone who plans on sticking to XRP for long-term gains, check this article to know if you’re making the right call!
Step 7: Enter the amount and confirm
Enter the amount of XRP you want to transfer to your cold wallet. Review the details and confirm the withdrawal.
Step 8: Verify withdrawal
Depending on the exchange, you may need to verify the withdrawal through email or two-factor authentication.
Step 9: Confirm on the cold wallet
Once the withdrawal is processed, the XRP will be sent to your cold wallet’s receiving address. Check the transaction status on the XRP app of your cold wallet to confirm the transfer.
Store your cold wallet in a secure and offline location, such as a safe or safety deposit box. Make sure it’s protected from physical damage and theft.
Should you consider buying XRP?
XRP has shown significant potential to revolutionize global payment systems with its ability to settle payments swiftly and cheaply. It has become a popular cryptocurrency among the top financial institutions like Bank of America, American Express, and Santander.
Also, American investors interested in purchasing XRP should research suitable exchanges, buy the desired amount of XRP, and ensure it is stored securely.
Did you know that you can short Bitcoin to make some extra money? Learn how to do it today!


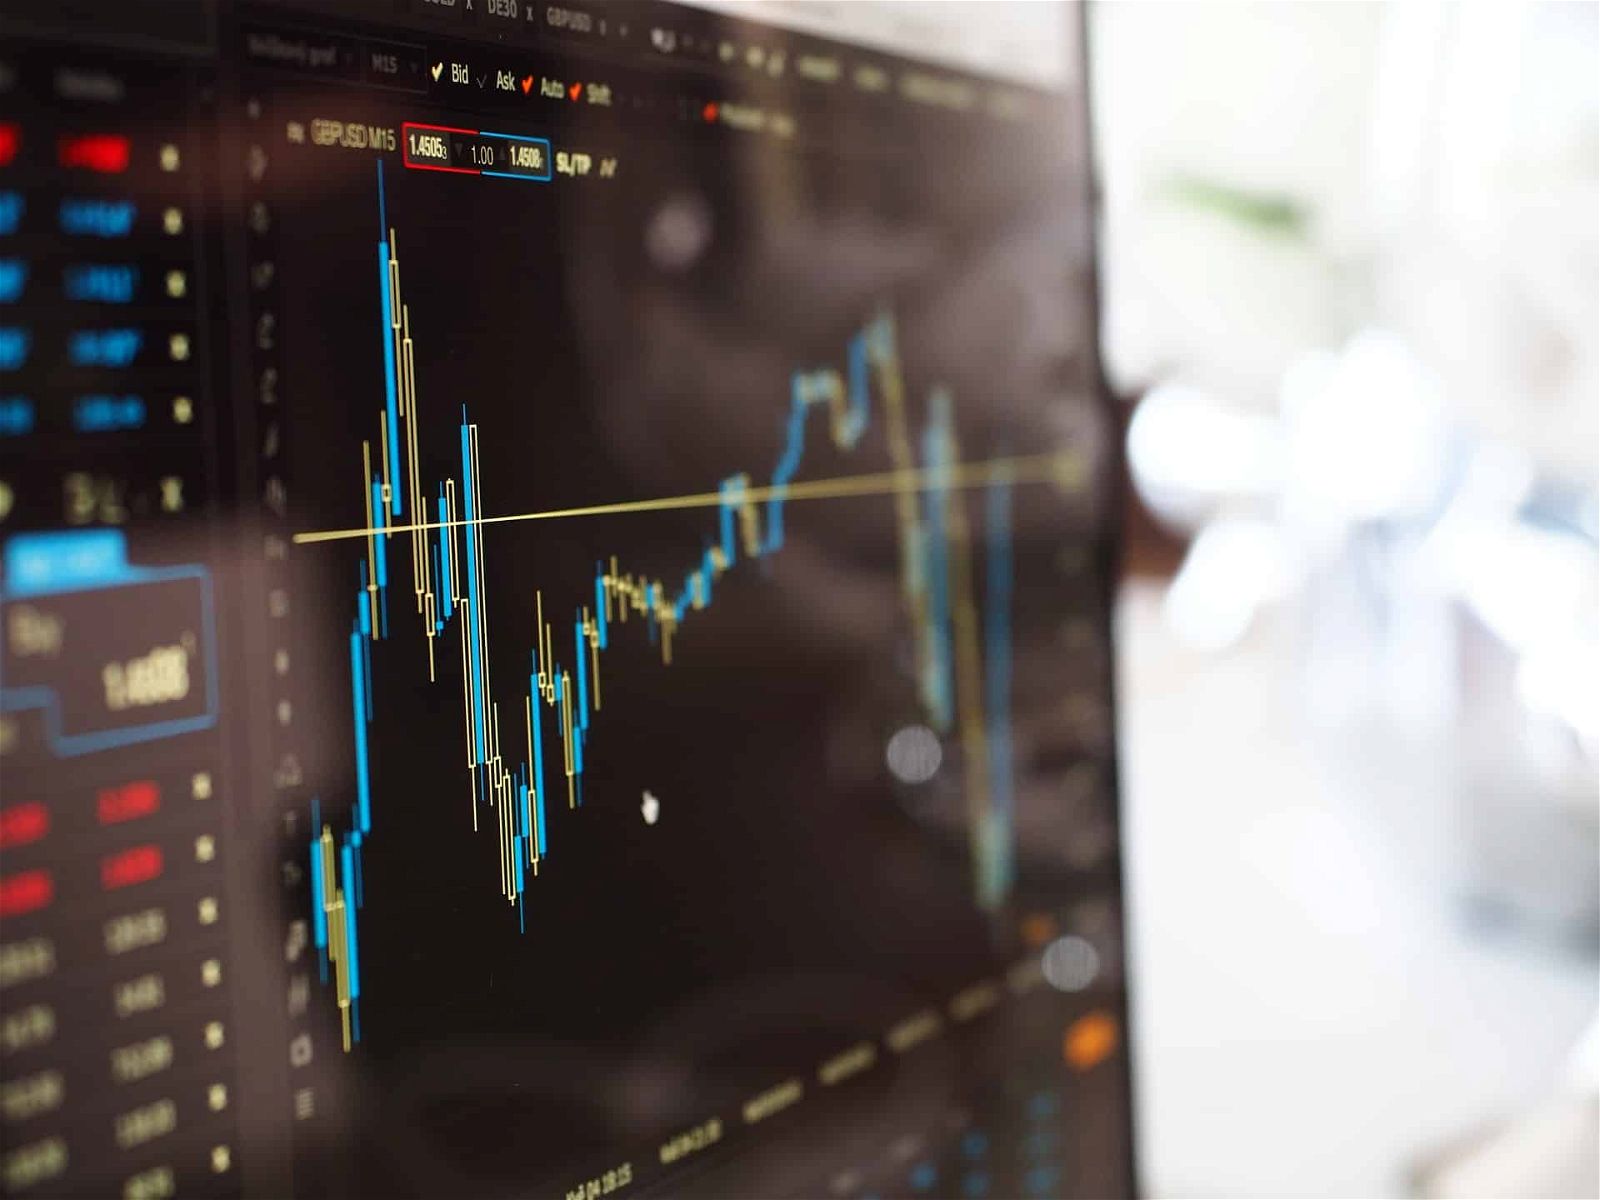
Moving XRP to a cold wallet
Final thoughts
Buying and storing XRP in the U.S. involves a long series of steps, from selecting the right exchange to choosing the best storage option. By following the steps outlined in this guide and implementing the best security practices, you can confidently buy XRP in the USA and secure your holdings effectively.
Furthermore, keep in mind securing your XRP is an ongoing process that requires attention and updates. Stay vigilant, stay informed, and prioritize the safety of your XRP holdings on your cryptocurrency journey.